

I was recently exposed to Sinatra as an alternative to Rails. The simplicity of it has got me hooked. As a primarily .NET/NodeJS developer, being able to build out and deploy minimal surface APIs is something I’ve missed while working in Rails. Naturally, I needed to connect to my Microsoft background by deploying Sinatra to Azure. While there is loads of information on deploying Rails to Azure, there are small tweaks that need to be done to deploy a Sinatra application.
Deploying a Sinatra app on Azure is a simple process that consists of uploading your application code to an Azure web app and configuring it to run on the Azure platform. To begin, you will need an Azure account, a local installation of Ruby, Git and the Azure CLI. Using the Azure CLI, you can create a new web app and use Git to upload your application code to it. Once the code is uploaded, you’ll need to configure the app’s settings, such as environment variables and runtime, to ensure it runs correctly on Azure. We’ll go over these steps below to deploy a simple API to the platform.
Creating the sample Sinatra API
Sinatra is an awesome, low friction, quick to get running Ruby framework for running APIs. If you’re here, you probably already know that but if you’re new to Sinatra, be sure to check out their docs.
We’ll begin by creating the directory for our app and creating all of the necessary files. Open a terminal and run the following commands
|
|
Open the Gemfile and paste the following code
|
|
Open the config.ru and paste the following code
|
|
Open the app.rb and paste the following code
|
|
Open the config/puma.rb and paste the following code
|
|
That’s it! That’s all we need to get running. Run the commands below and navigate to localhost:3000 to see your app
|
|
Initializing the repository
We’re going to be using the Azure Git Deploy method so we need to make our directory a Git repository. We will create a main branch as a default and later on, we’ll add an Azure branch to trigger deploys. Alternatively, you could set up your favorite CI/CD tool such as GitHub Actions.
Run the following commands to create your repository and commit all of the files we just created to it
|
|
Setting up the Azure resources
We’re almost there! Just a few more commands to run now! In the following steps, we’ll create a resource group, an app service plan, and an app service. Note the app service name needs to be unique in Azure so you will likely need to change the names we use
First we need to login to the Azure CLI and create a deployment user
|
|
Next we need to create a resource group to deploy our app service plan. We’ll make this one in US West but you can choose a region closer to you
|
|
We’ll now create a Linux app service plan to host our web app. As a side bar, at KTFA we have been using Linux web apps on Azure for quite some time. The tooling is amazing and the services are super reliable. At this point, unless you absolutely must, it seems like a waste of money to pay for a Windows plan.
|
|
Now we’ll create our web app which will also give us our Azure git repository
|
|
NOTE: The URL of the Git remote is shown in the deploymentLocalGitUrl property, with the format https://user@app-name.scm.azurewebsites.net/app-name.git. Save this URL as you need it later.
Now we need to add a couple app settings. The first setting will tell Azure which branch to watch in order to trigger deployments. The second will be setting the startup command we need for Sinatra. By default, Azure tries to start it as a Rails app so this will fix that
|
|
Setting up the Azure git branch
Phew, we did it. Now all that is left is to deploy this thing. This is just a matter of a couple git commands
|
|
You’ll see a lot of out put from the previous commands. Once it is all done running navigate to
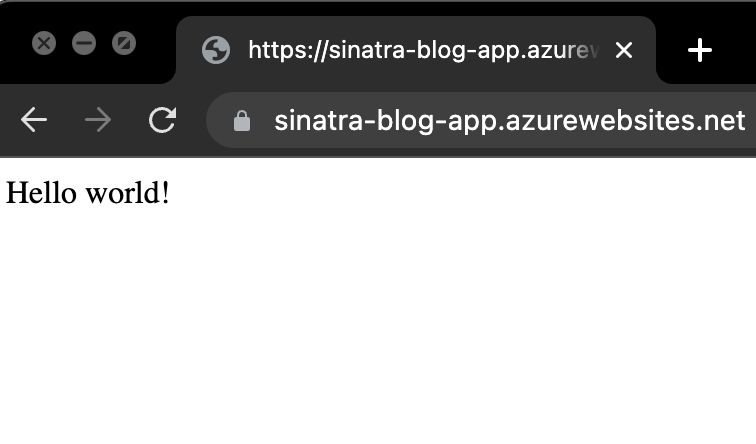
Congrats you did it! Go forth and build!